Hi there,
Introduction
We recently made some efforts to verify our commandline-driven MicroPython development environment on Linux, macOS and Windows.
Installation
We would like to outline some steps for a successful installation here. Please let us know about any obstacles you might encounter as it will indirectly help others by improving the documentation.
Install Linux on WSL for Windows10
-
Install Windows Subsystem for Linux (WSL) on Windows 10 | Microsoft Docs
While other Linux distributions might work as well, we had good experiences with Ubuntu here. -
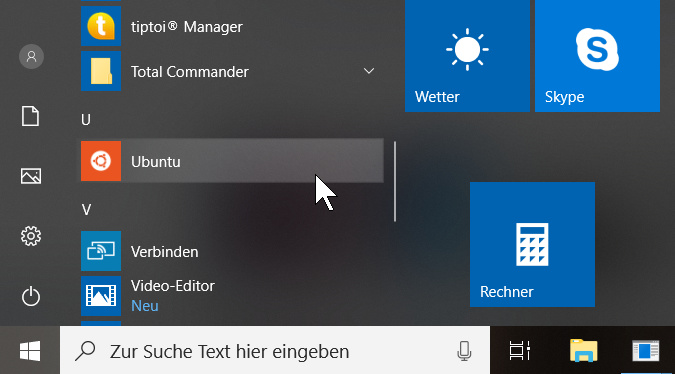
Now you can launch Ubuntu or an other distro:

Install the development sandbox on Linux
Dokumentation
Die kanonische Dokumentation findet sich bei Setup Hiveeyes MicroPython Datalogger sandbox.
Schritt-für-Schritt Anleitung
1. Prerequisites
We need some packages for our work:
apt update
apt install make patch wget git python python3 python-virtualenv
2. Make or go to your working directory
cd /home
mkdir cgruber
cd cgruber
You should now have a prompt similar to
root@XPS13-CGruber:/home/cgruber#
3. Acquire source code
3.a First time
First, let’s create a directory called "sources" containing the working trees of source code repositories and change into that.
mkdir -p hiveeyes/sources
cd hiveeyes/sources/
There, let’s clone the Git repository from GitHub and change into that folder.
git clone https://github.com/hiveeyes/hiveeyes-micropython-firmware
cd hiveeyes-micropython-firmware/
3.b Update sources
If it’s a while ago since you initially cloned the repository, you might want to update it in order to grab the latest version.
git pull
4. Configure your environment
Set your serial port with, in this case 16:
export MCU_PORT=/dev/ttyS16
You can check if this was done allready with
env
5. Go to the firmware dir and run setup
root@XPS13-CGruber:/home/cgruber/hiveeyes/sources/hiveeyes-micropython-firmware#

make setup
make install
6. Edit your settings file
Finally make a local copy of your setting file for the LoPy or FiPy and edit the settings.py file:
cp settings.example.py settings.py
nano settings.py
(of cause you can use emacs or vim instead of nano also ;-)
7. Upload the code to the LoPy or FiPy with
make sketch-and-run
Wie gewohnt kann mit git status der lokale branch mit dem auf github verglichen werden und bei Bedarf mit git pull die neueste Version heruntergeladen werden.
Cheatsheet
Schritte 3.b und 5. bis 7. kompakt und auf Englisch.
# Get most recent development sources
git pull

# Setup the sandbox environment on your workstation
make setup

# Upload framework and datalogger to the device
make install

# Upload program sketch and invoke device reset.
# This just uploads "boot.py", "main.py" and "settings.py".
make sketch-and-run
